KDK Airy ceiling fan in Home Assistant: setup guide
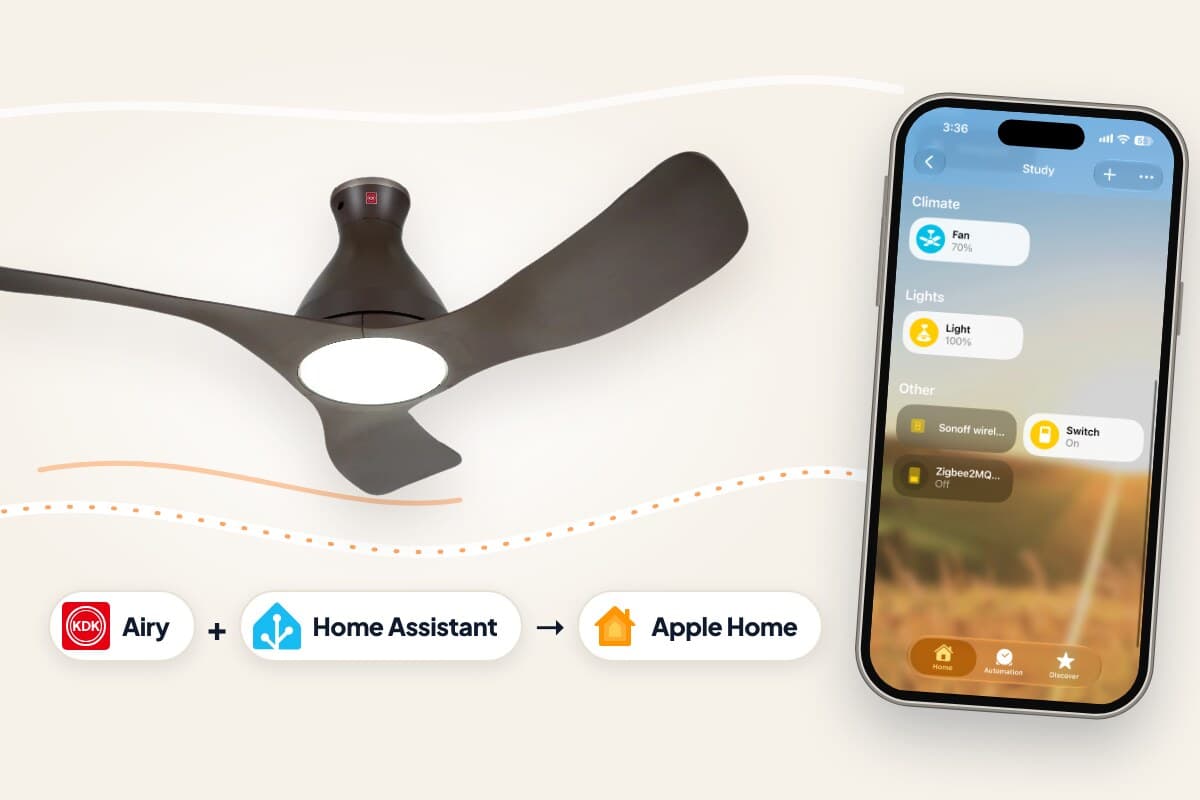
The KDK Ceiling Fan app controls your fan, but it can't run automations, answer to Siri or work with the rest of your smart home. The KDK Airy integration brings your KDK Airy fan and its light into Home Assistant, and from there into Apple Home.
What you get
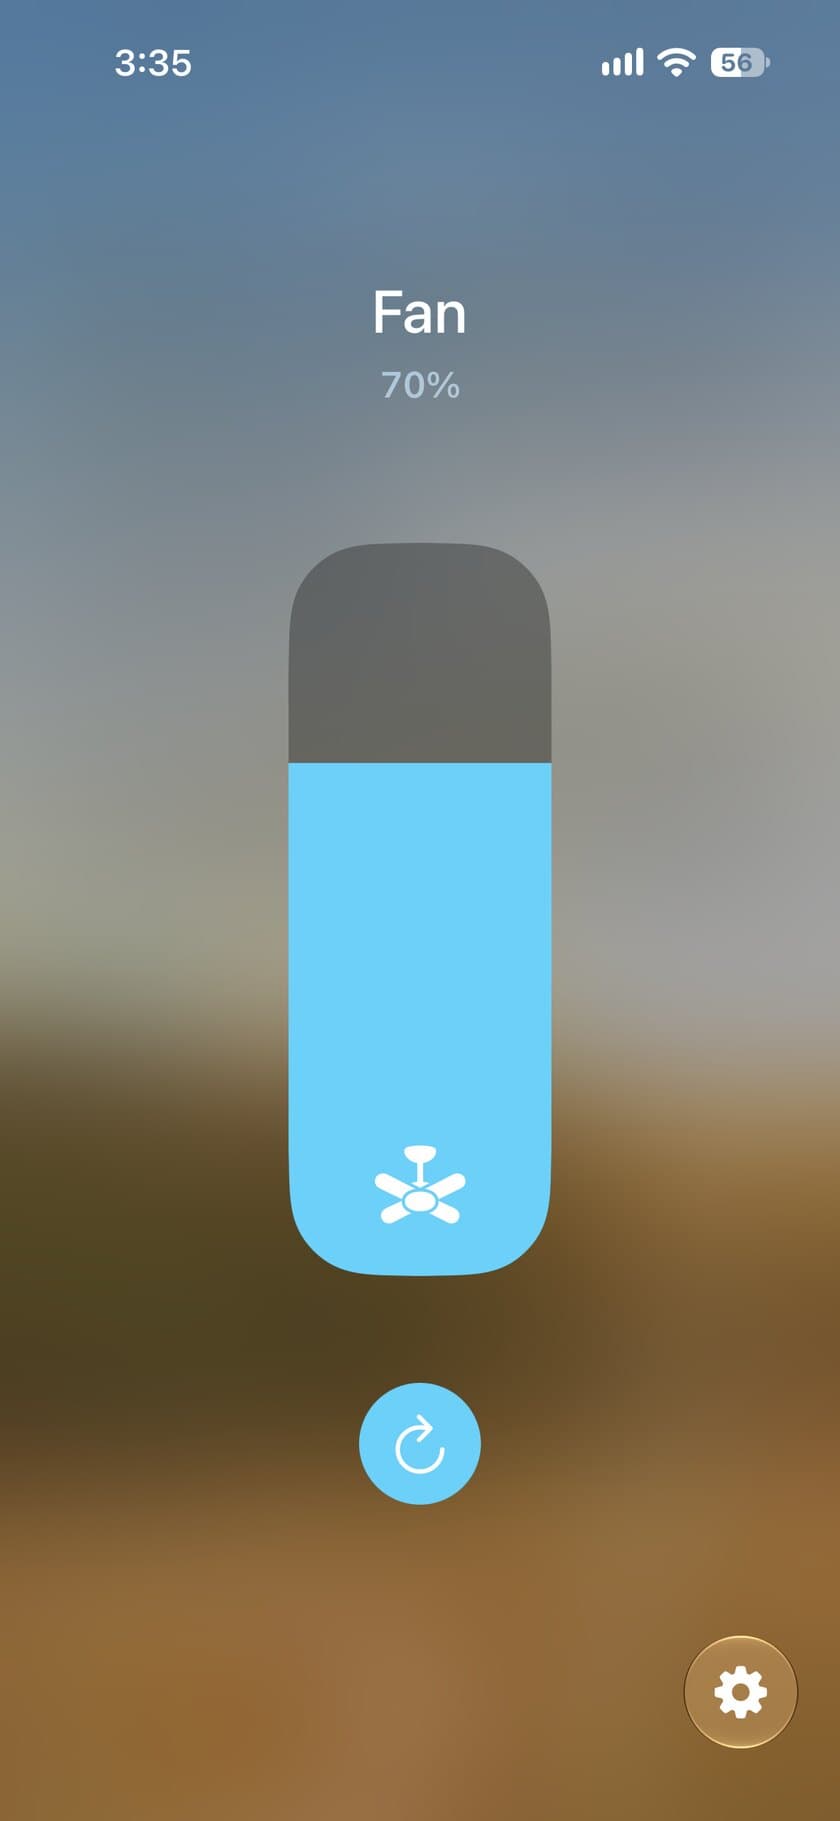
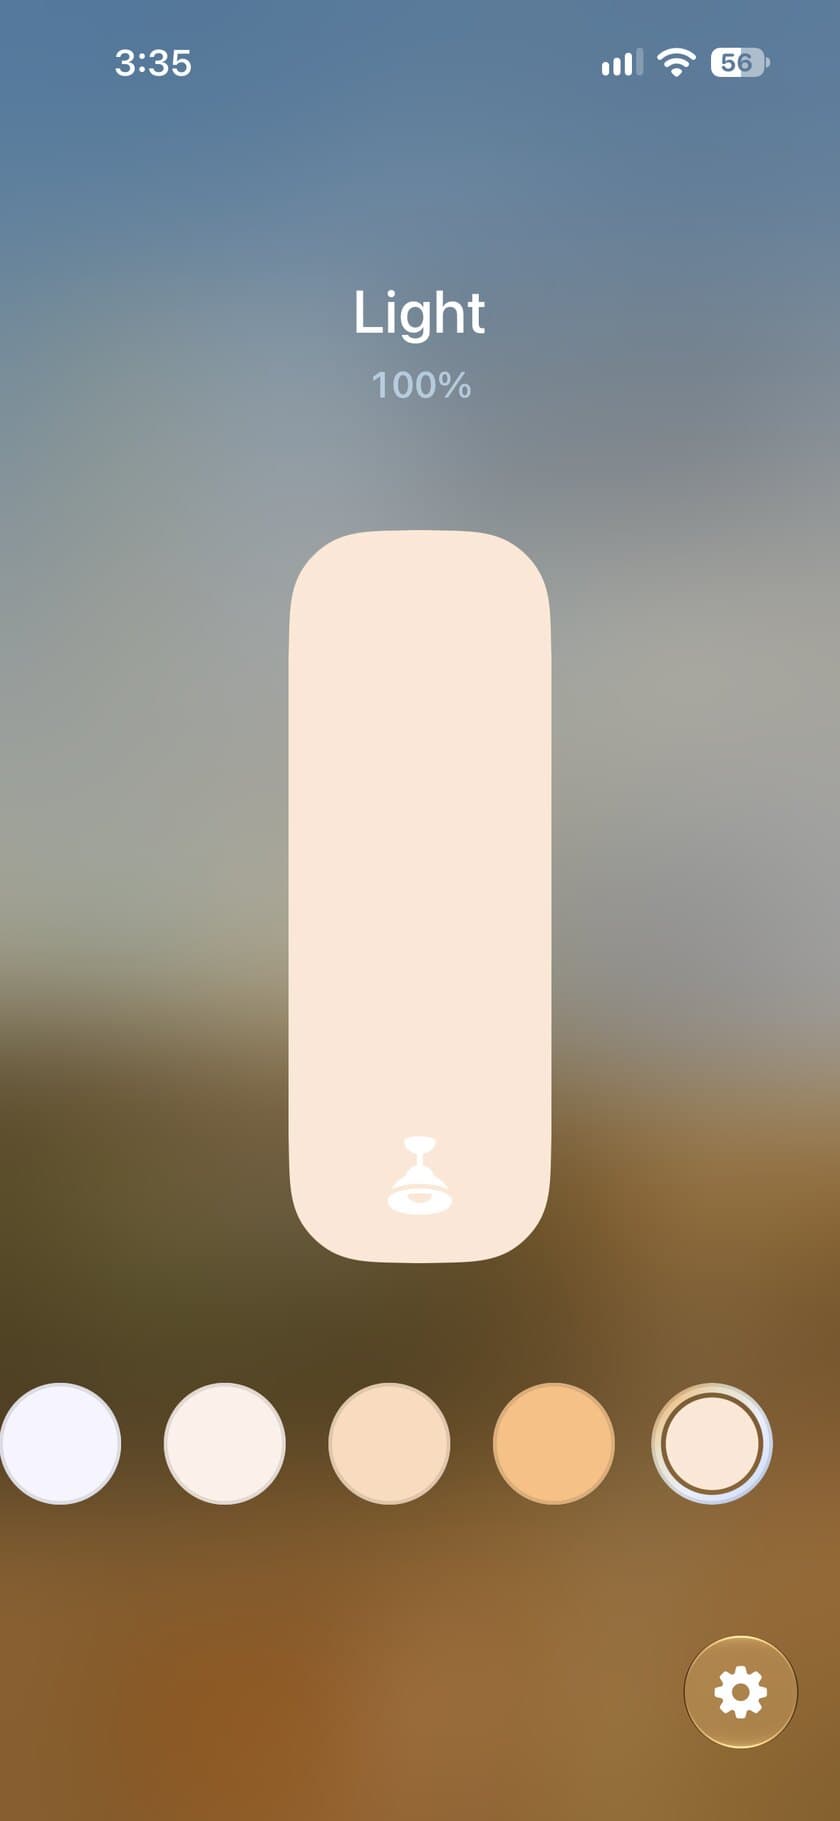
- Fan and light in Home Assistant. Speed, direction, brightness and colour temperature, on your dashboards and in automations with the rest of your devices.
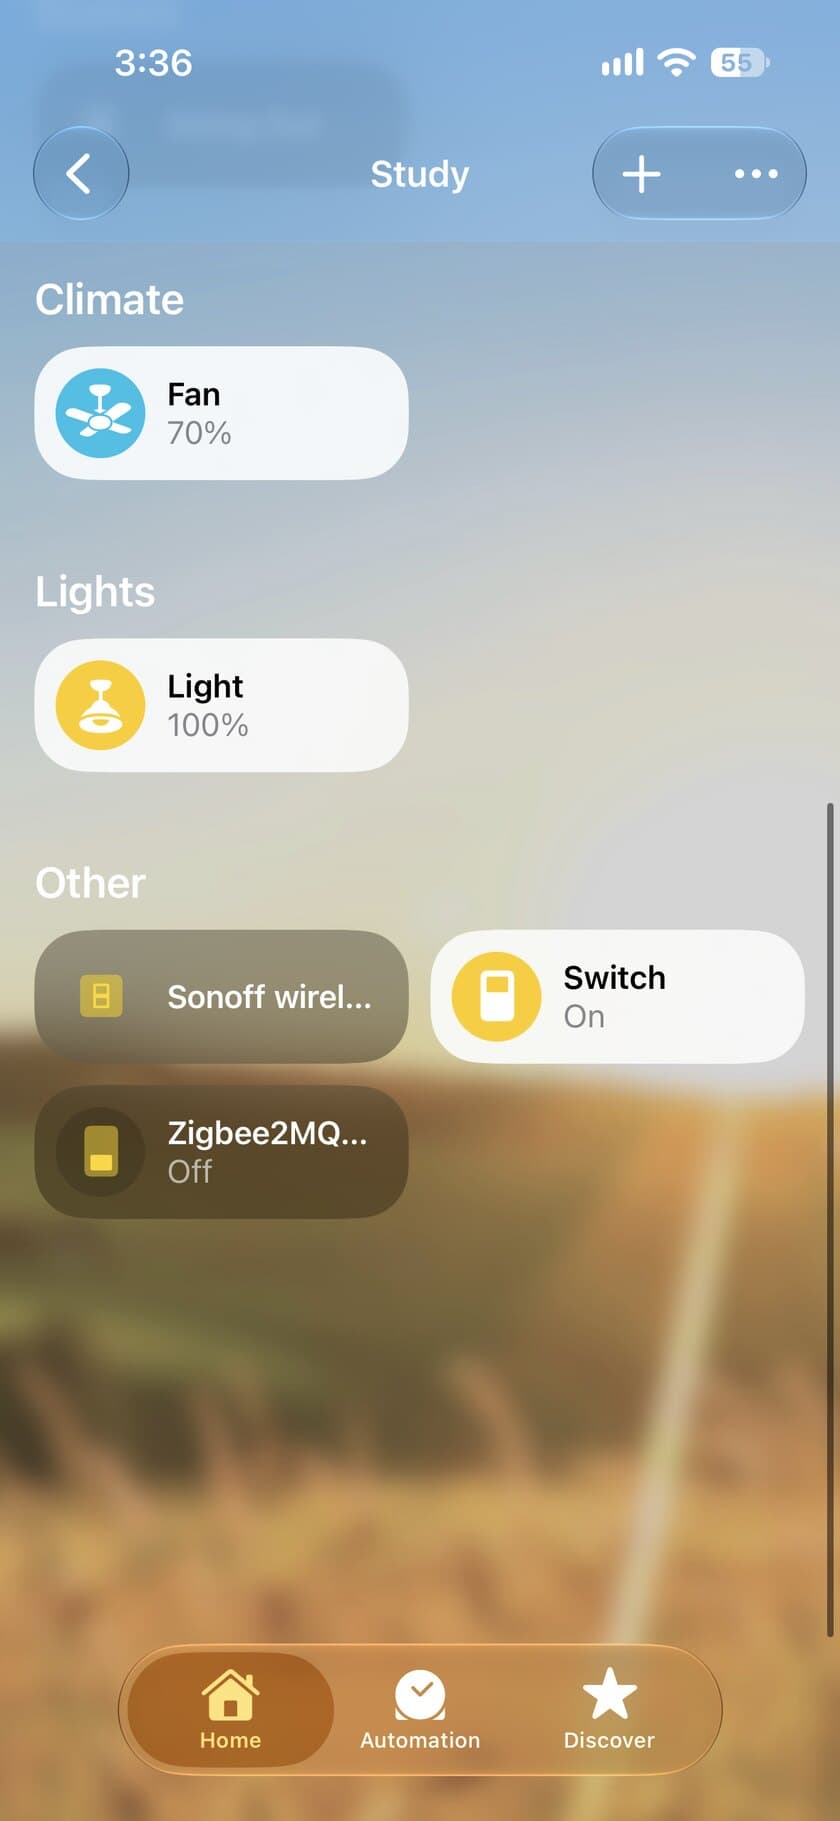
- Apple Home and Siri. With Home Assistant’s HomeKit Bridge, the fan and light show up in the Home app. “Hey Siri, set the study fan to 70%.”
- Fast, mostly local control. Fans on your home network are controlled directly, so commands take effect in well under a second. The KDK cloud is only a fallback.
What you need
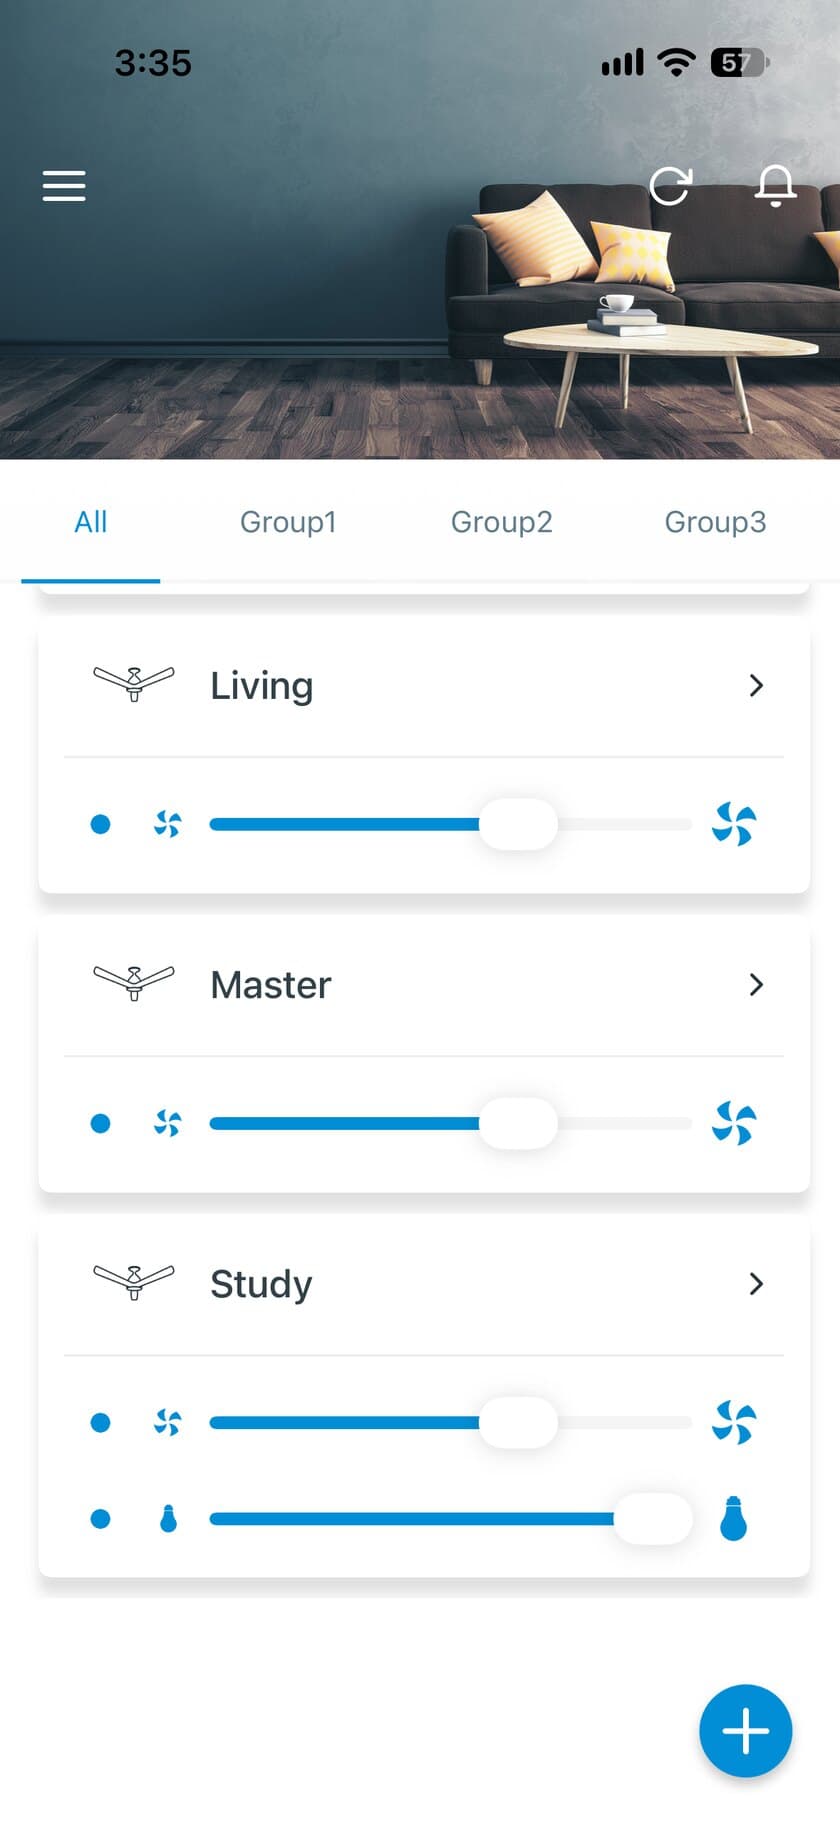
- A KDK fan set up in the KDK Ceiling Fan app and connected to your home Wi-Fi.
- Latest version of Home Assistant
- HACS (the Home Assistant Community Store) to install the integration.
- For Apple Home: an iPhone or iPad with the Home app. Add an Apple home hub, such as an Apple TV or HomePod, for automations and control when you’re away.
Step 1: Install the integration
The quickest way is the link below. It opens the KDK Airy repository in HACS on your own Home Assistant. Download it, then restart Home Assistant.
Or add it in HACS yourself:
- In Home Assistant, open HACS, then the ⋮ menu at the top right, then Custom repositories.
- Enter
gabrielsim/kdk_airyas the repository, choose Integration as the type, and select Add. - Search HACS for KDK Airy and select Download.
- Restart Home Assistant: Settings → System → Restart.
Step 2: Log in with your KDK account
- Go to Settings → Devices & services and select Add integration.
- Search for KDK Airy.
- Log in with the same email and password you use in the KDK Ceiling Fan app.
Your fans appear as devices, named as they are in the KDK app. The integration reads your list of fans when it starts, so after adding a fan in the KDK app, reload it: Settings → Devices & services → KDK Airy → ⋮ → Reload. If you change your KDK password, Home Assistant asks for the new one under Settings → Devices & services.
Step 3: Try it in Home Assistant
Each fan gets a fan entity, and models with a light also get a light entity. Add them to a dashboard to try them out.
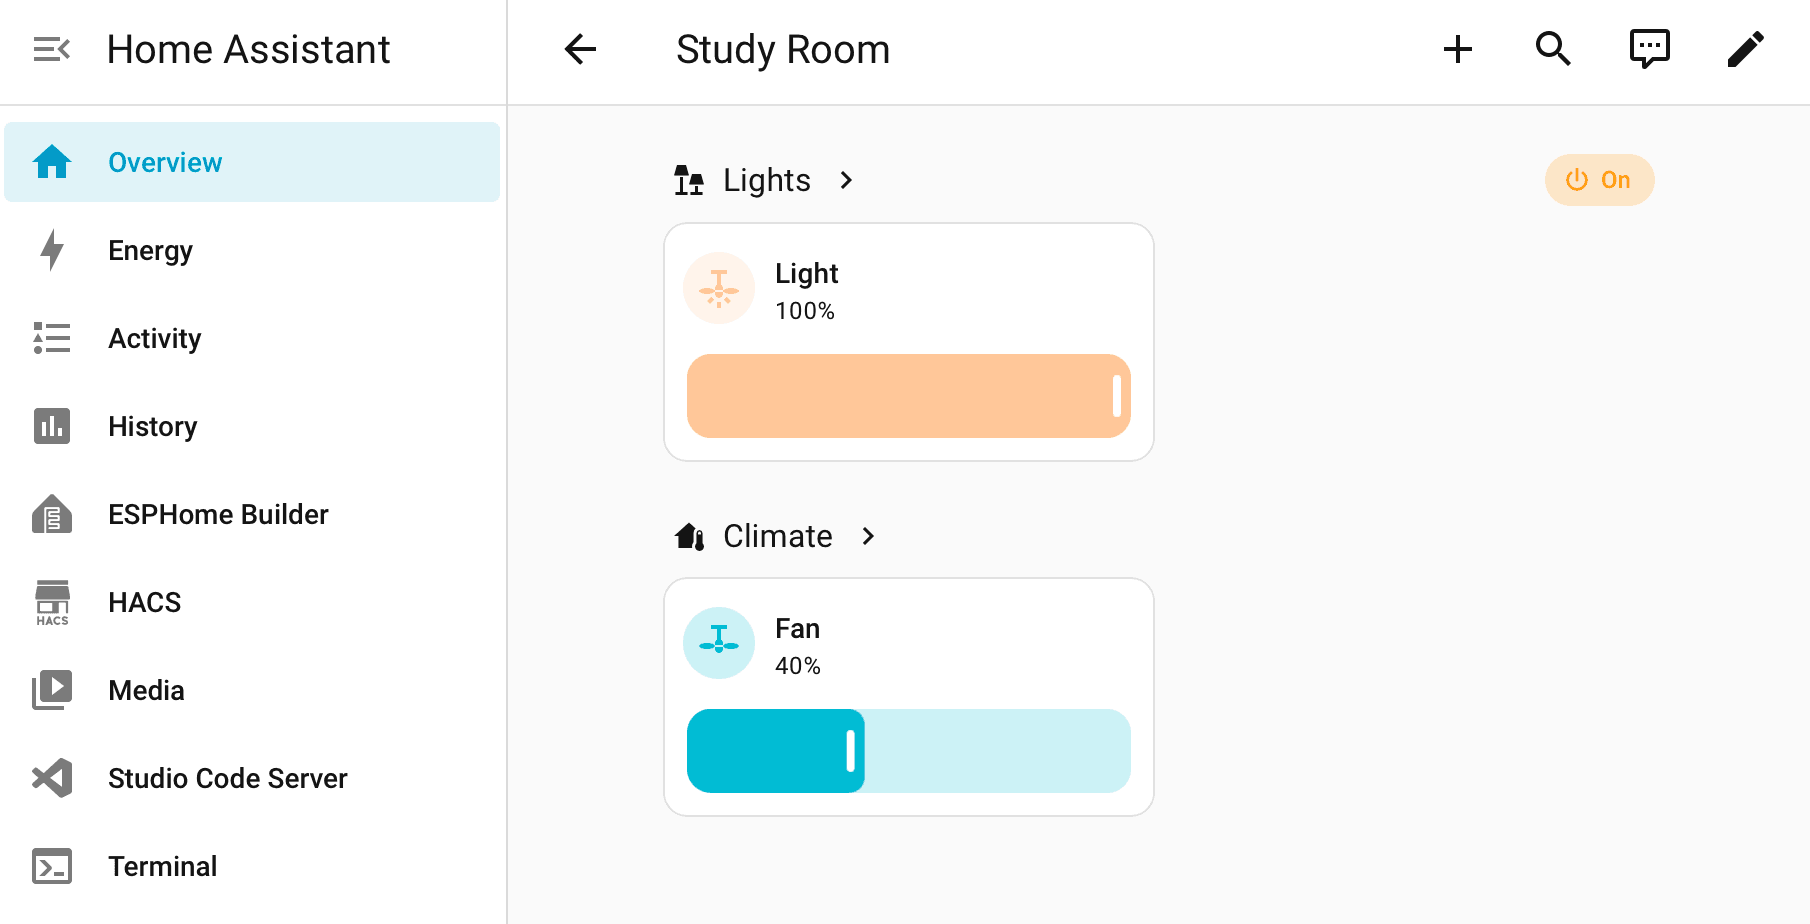
- Fan speed goes in 10% steps, rounded up, so 82% becomes 90%. 0% turns the fan off.
- Direction can be forward or reverse.
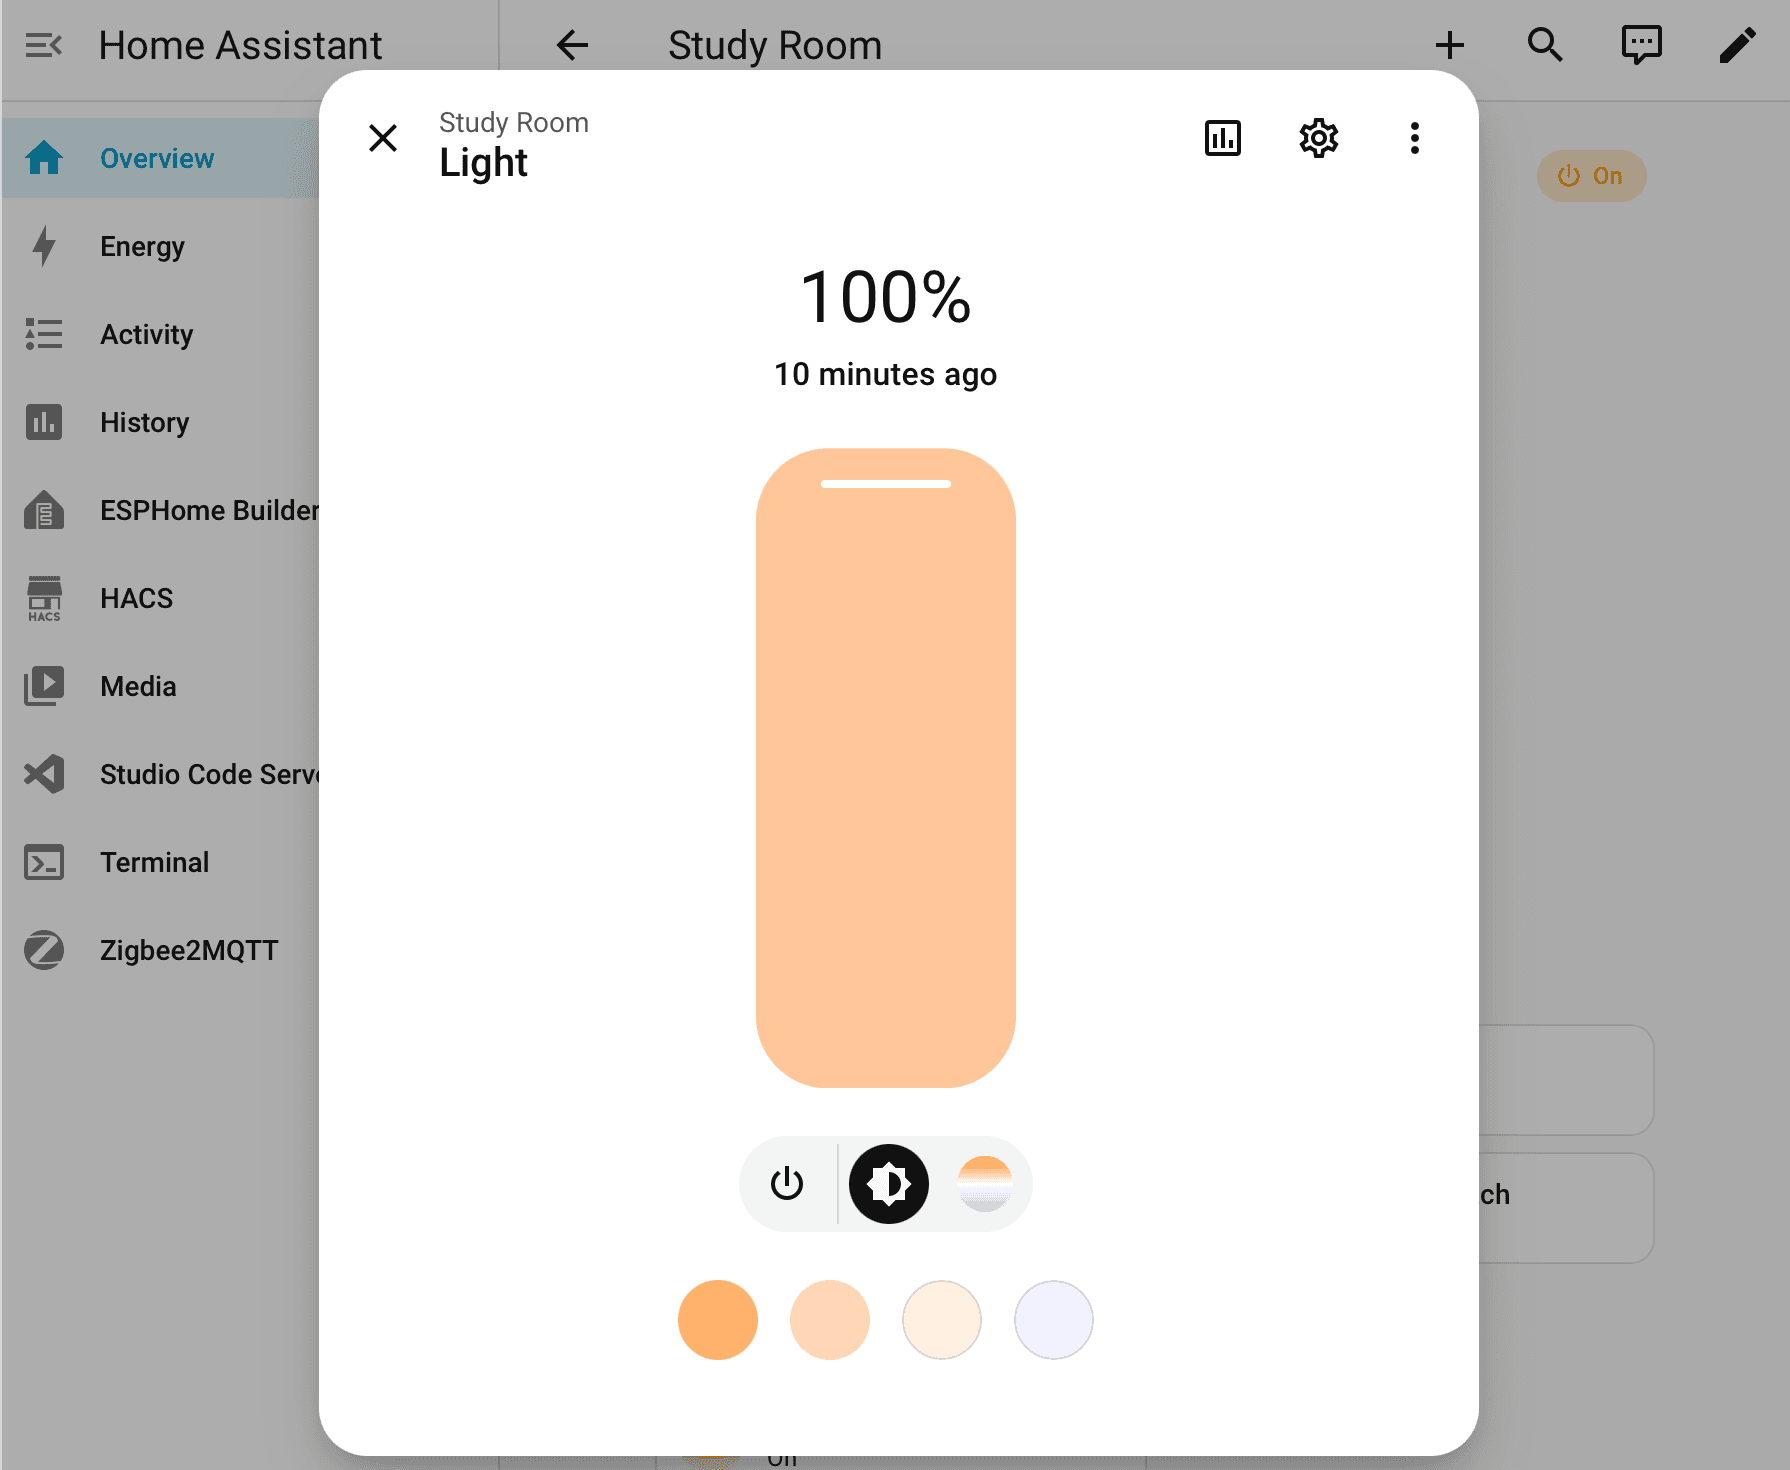
- Light brightness also goes in 10% steps, and you can change the colour temperature.
- Night light: brightness at 10%, 20% and 30% sets the low, medium and high night light.
Step 4: Add it to Apple Home
Home Assistant’s built-in HomeKit Bridge shares its devices with Apple Home. Your iPhone and Home Assistant need to be on the same network while you pair.
- Go to Settings → Devices & services → Add integration and choose HomeKit Bridge.
- Include the Fan and Light domains. You can narrow it down to just the KDK entities later in the bridge’s options.
- Open Home Assistant’s Notifications. The bridge posts a QR code for pairing there.
- On your iPhone, open the Home app, tap +, then Add Accessory, and scan the QR code.
- The Home app says it’s an uncertified accessory. Tap Add Anyway, then pick a room and names for the fan and light.
Things to try
- Ask Siri. “Hey Siri, set the study fan to 70%,” or “Hey Siri, turn off the study light.”
- Night light at bedtime. Add the light at 10% brightness to a Good Night scene for the low night light.
- Fan on when it’s warm. With a temperature sensor in the room, turn the fan on when it goes above 28°C.
- All off when you leave. With an Apple home hub, turn the fan and light off when the last person leaves home.
How local control works
Fans on the same network as Home Assistant are controlled directly over your Wi-Fi, the same way the KDK app does when your phone is at home. Commands take effect in well under a second, and Home Assistant checks the fan’s status every 5 seconds. Your KDK account is still used to find your fans and their names.
Any fan that can’t be reached locally is controlled through the KDK cloud instead, with its status checked every 15 seconds. This happens on its own, per fan. For local control:
- Home Assistant must be on the same subnet as the fans. It finds them with a UDP broadcast on port 50125.
- Home Assistant needs host networking. Home Assistant OS and Supervised have it; for Docker, use
--network host. - UDP port 3610 must be free. If another integration, such as ECHONET Lite, is using it, KDK Airy logs a warning and runs cloud-only.
Troubleshooting
- Unavailable or no response: the fan’s wall switch is probably off, or it has lost Wi-Fi. Press the Wi-Fi button on the remote.
- A new fan is missing: reload the integration (see Step 2).
- Changes from the remote show up late: the fans don’t report changes themselves, so they appear at the next status check, within 5 seconds.
To see what the integration is doing, including whether each fan is reached locally, add this to configuration.yaml and restart:
logger:
  logs:
    custom_components.kdk_airy: debug
It’s verbose, so remove it when you’re done.
kdk_airy is unofficial and community-made. It isn’t affiliated with or supported by KDK or Panasonic. It uses the same cloud service and local protocol as the KDK Ceiling Fan app, so a change on KDK’s side could break it without notice.